Create a Project on Odoo
Purpose
This SOP standardizes Odoo project tagging ("event" for Events, "university" for LPU) in analytic accounts to enable instant backend recognition and streamlined tech reporting.
Step-by-Step
Step 1: Access the Project Module
Log in to your Odoo instance (e.g., https://www.lynch-pin.com/odoo)
From the main menu, click on "Project"

Step 2: Access Project Settings
After entering the Project app, locate your project in the list or dashboard view
Click the three dots (⋮) menu beside the project name field
From the dropdown menu, select "Settings"
(This will open the project configuration page)

Step 3: Configure Analytic Account
Click the "Analytic" tab located in the project header menu
In the Analytic Account section:
Locate the "Projects" field
(The picture above shows this under Description → Settings → Analytic)
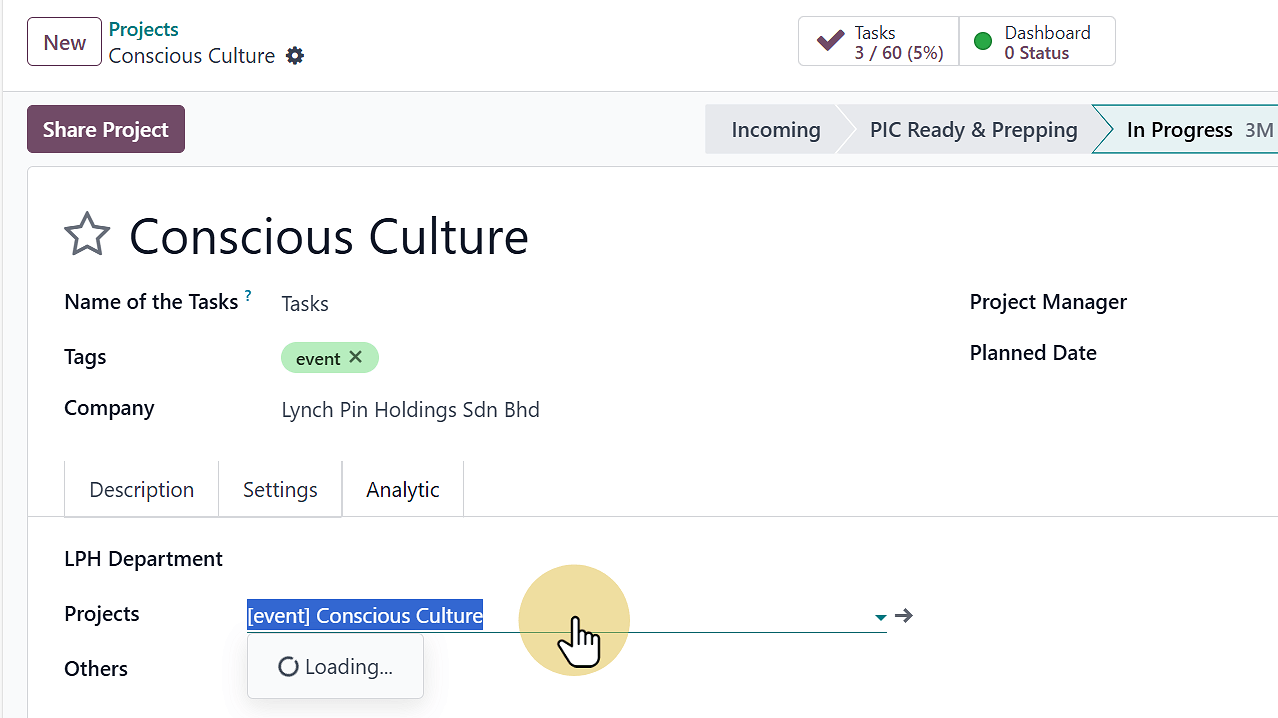
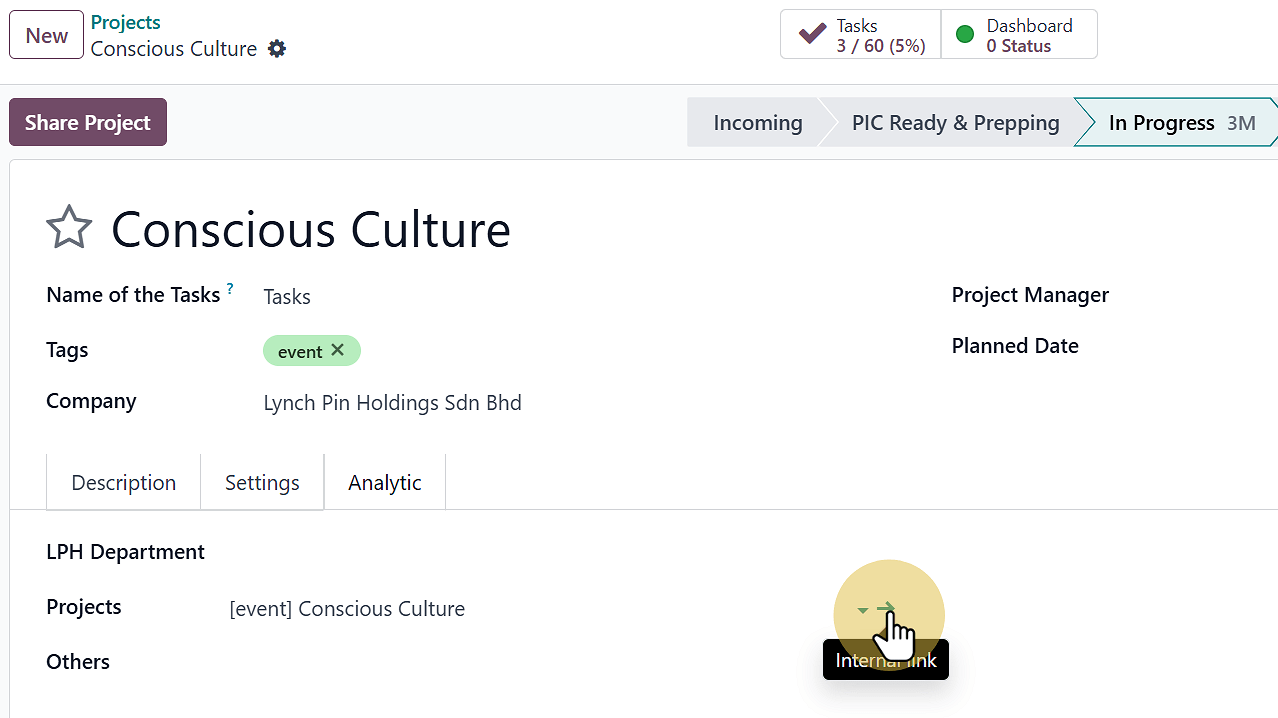
Step 4: Click on Internal Link
After configuring the Analytic Account, locate and click "Internal Link" in the header menu
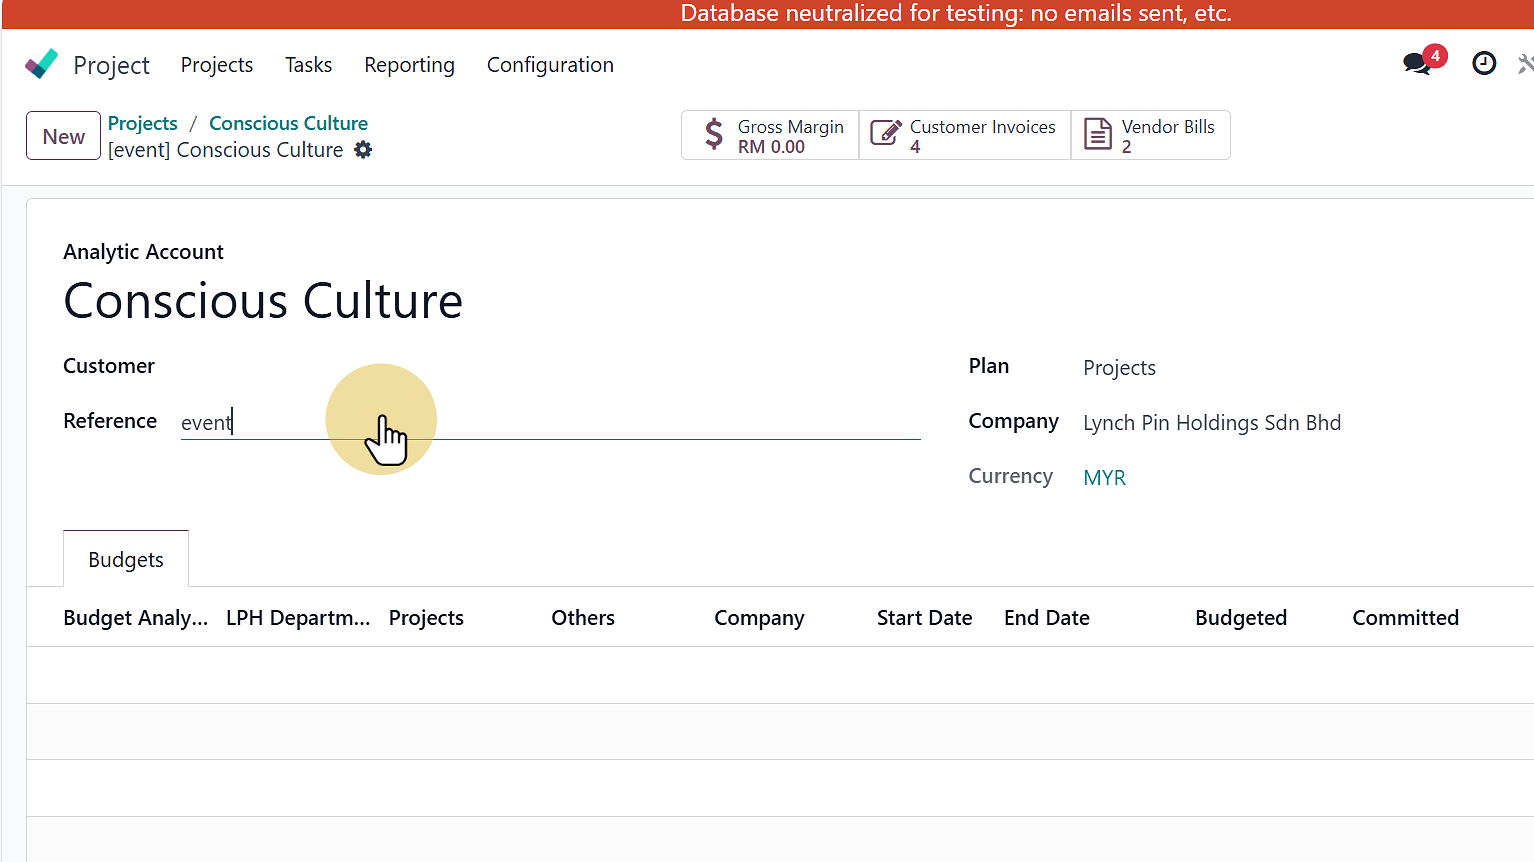
Step 5: Set the Project Reference (Critical Step)
Locate the "Customer" section in the project details
Find the "Reference" field
For Events: Type 'event' in the Reference field
For LPU (University) projects: Type 'university' in the Reference field